Feb 26, 2015

nrf51xxx dk example 1(led blinky)

한글 블로그로 보기


main.c
  1. #include <stdbool.h>
  2. #include <stdint.h>
  3. #include "nrf_delay.h"
  4. #include "nrf_gpio.h"
  5. #include "boards.h"
  6. const uint8_t leds_list[LEDS_NUMBER] = LEDS_LIST;
  7. /**
  8.  * @brief Function for application main entry.
  9.  */
  10. int main(void)
  11. {
  12.     // Configure LED-pins as outputs.
  13.     LEDS_CONFIGURE(LEDS_MASK);
  14.     // Toggle LEDs.
  15.     while (true)
  16.     {
  17.         for (int i = 0; i < LEDS_NUMBER; i++)
  18.         {
  19.             LEDS_INVERT(1 << leds_list[i]);
  20.             nrf_delay_ms(500);
  21.         }
  22.     }
  23. }
Line 7 : declared LED array. 

LEDS_NUMBER and  LEDS_LIST in pca10028.h

Line 15 : Config LED(setting port output)

LEDS_CONFIGURE in board.h LEDS_MASK in pca10028.h

Line 22 : Toggle for LED. LEDS_INVERT in board.h

Line 23 : Delay. nrf_delay_ms in nrf_delay.c

pca10028.h
  1. #define LEDS_NUMBER    4
  2. #define LED_START      21
  3. #define LED_1          21
  4. #define LED_2          22
  5. #define LED_3          23
  6. #define LED_4          24
  7. #define LED_STOP       24
  8. #define LEDS_LIST { LED_1, LED_2, LED_3, LED_4 }
  9. #define BSP_LED_0      LED_1
  10. #define BSP_LED_1      LED_2
  11. #define BSP_LED_2      LED_3
  12. #define BSP_LED_3      LED_4
  13. #define BSP_LED_0_MASK (1<<BSP_LED_0)
  14. #define BSP_LED_1_MASK (1<<BSP_LED_1)
  15. #define BSP_LED_2_MASK (1<<BSP_LED_2)
  16. #define BSP_LED_3_MASK (1<<BSP_LED_3)
  17. #define LEDS_MASK      (BSP_LED_0_MASK | BSP_LED_1_MASK | BSP_LED_2_MASK | BSP_LED_3_MASK)
  18. /* all LEDs are lit when GPIO is low */

board.h
  1. #define LEDS_INVERT(leds_mask) do { uint32_t gpio_state = NRF_GPIO->OUT;      \
  2.                               NRF_GPIO->OUTSET = ((leds_mask) & ~gpio_state); \
  3.                               NRF_GPIO->OUTCLR = ((leds_mask) & gpio_state); } while (0)
  4. #define LEDS_CONFIGURE(leds_mask) do { uint32_t pin;                  \
  5.                                   for (pin = 0; pin < 32; pin++) \
  6.                                       if ( (leds_mask) & (1 << pin) )   \
  7.                                           nrf_gpio_cfg_output(pin); } while (0)

nrf_delay.c
  1. void nrf_delay_ms(uint32_t volatile number_of_ms)
  2. {
  3.     while(number_of_ms != 0)
  4.     {
  5.         number_of_ms--;
  6.         nrf_delay_us(999);
  7.     }
  8. }

PS.This is just part source code.


Feb 5, 2015

Android ImageView


There are 3 ways of get the image.

First, take a picture!

Second, get the picture in gallery!

Last is loading drawable image.

Run my example app.


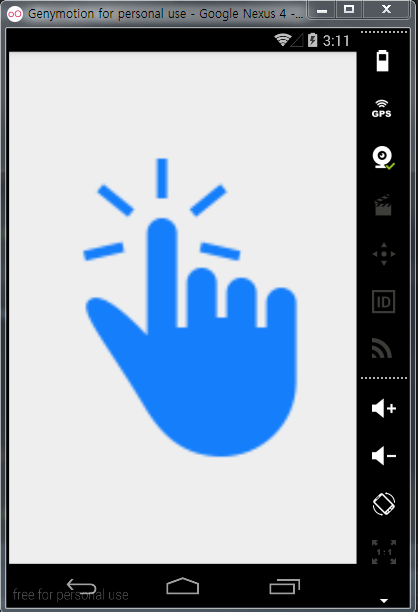
Click to finger image!!

You can see  alertDialog.


You can choose how to get image.

This is Dialog code.

  1.         AlertDialog.Builder ad=new AlertDialog.Builder(this);
  2.         ad.setTitle("How to get picture?")
  3.                 .setMessage("Click to button!!")
  4.                 .setPositiveButton("Take a picture!",new DialogInterface.OnClickListener() {
  5.                     @Override
  6.                     public void onClick(DialogInterface dialog, int which) {
  7.                         Intent intent=new Intent(MediaStore.ACTION_IMAGE_CAPTURE);
  8.                         startActivityForResult(intent, intent_camera);
  9.                     }
  10.                 })
  11.                 .setNegativeButton("Getting the Gallery!",new DialogInterface.OnClickListener() {
  12.                     @Override
  13.                     public void onClick(DialogInterface dialog, int which) {
  14.                         Intent intent=new Intent();
  15.                         intent.setAction(Intent.ACTION_GET_CONTENT);
  16.                         intent.setType("image/-");
  17.                         startActivityForResult(intent, intent_gallery);
  18.                     }
  19.                 })
  20.                 .setNeutralButton("Getting the basic image",new DialogInterface.OnClickListener() {
  21.                     @Override
  22.                     public void onClick(DialogInterface dialog, int which) {
  23.                         showPicture.setImageResource(R.drawable.click);
  24.                     }
  25.                 })
  26.                 .show();
Line 8~9 : run Camera!!

Line 16~19 : run Gallery.

Line 25 : get the drawable image!!

In case of camera & gallery,
You must use  'startActivityForResult' and 'onActivityResult'

Picture uri  is use  data.getData();

  1. Uri uri= data.getData();
  2. showPicture.setImageURI(uri);